

Riflescope Setup / Range Preparation
How to Zero a Rifle Scope: A Step-by-Step Guide
A clear guide to preparation, confirmation, and keeping a dependable record of your rifle’s zero.
Learning how to zero a rifle scope is one of the most important skills a shooter or hunter can develop. A properly zeroed rifle places the bullet at the intended point of impact at a specific distance. A dependable zero provides a reference for the rifle, ammunition, and optic combination.
Although the process may seem technical at first, zeroing a rifle is straightforward when approached systematically. The key is to use a stable shooting position, make controlled adjustments and allow the rifle to confirm each change through consistent shot groups.
This guide covers preparation, bore sighting, shot groups, scope adjustments, and final confirmation.
What Does It Mean to Zero a Rifle?
To zero a rifle means adjusting its sights or optic so the bullet strikes at the desired point of impact at a selected distance. With a 100-yard zero, the center of the shot group should be at or near the point of aim at 100 yards.
Zeroing does not mean the bullet travels in a perfectly straight line from the muzzle to the target. A bullet begins dropping as soon as it leaves the barrel. The rifle’s bore is angled slightly upward relative to the line of sight, allowing the bullet’s curved trajectory to intersect with the shooter’s line of sight.
Depending on the rifle, ammunition and selected zero distance, the bullet may cross the line of sight twice. The first intersection occurs at a closer distance as the bullet rises relative to the line of sight. The second occurs farther away as gravity causes the bullet to drop.
This relationship matters when choosing a zero distance for the rifle’s intended use.
Choose the Right Zero Distance
Before heading to the range, decide the distance at which the rifle should be zeroed. There is no single zero distance that works for every rifle or application.
Common zero distances include:
- 25 yards: Often used for initial adjustments or rifles intended for very close-range shooting.
- 50 yards: Common for rimfire rifles, defensive carbines and certain straight-wall cartridges.
- 100 yards: A practical and widely used distance for hunting rifles and general shooting.
- 200 yards: Popular with hunters who want to reduce holdover at moderate distances.
- Specialized distances: Long-range competitors and precision shooters may choose a zero based on their ballistic data and shooting discipline.
A 100-yard zero is a reliable starting point when zeroing a hunting rifle. It is easy to confirm at most shooting ranges and provides a useful reference for calculating bullet drop at longer distances.
The best zero depends on the cartridge, bullet, expected shooting distance, target size and shooting environment. Review the ammunition manufacturer’s ballistic information before choosing a final distance.
Equipment Needed to Zero a Rifle
Before heading to the range, gather the equipment you need:
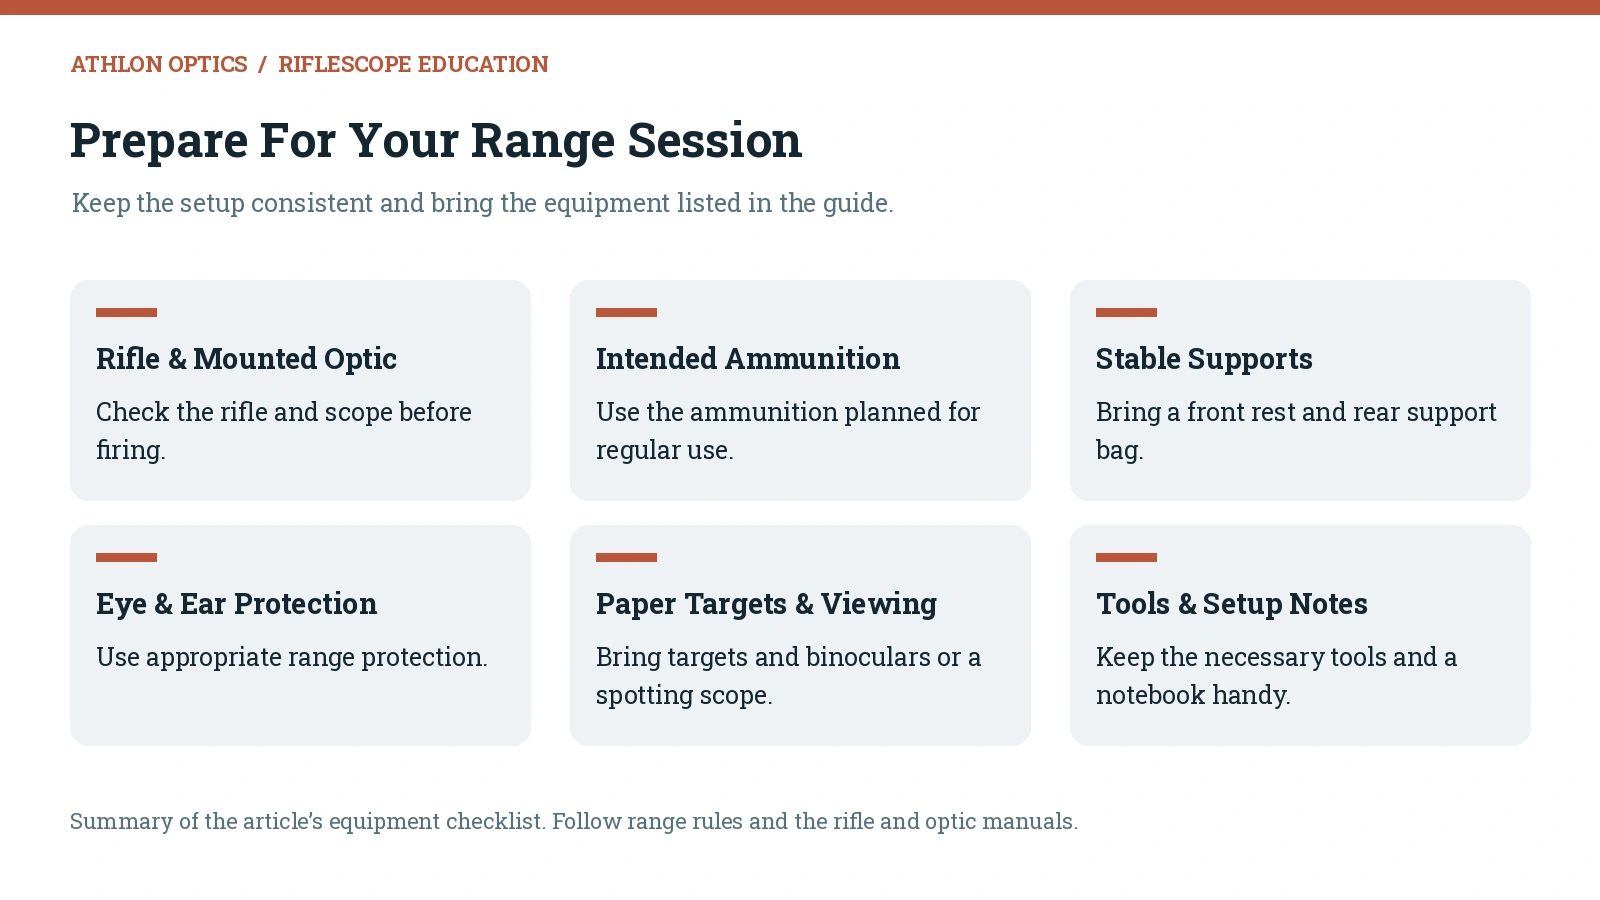
View the complete equipment list as text
- Rifle and correctly mounted optic
- Ammunition intended for regular use
- Stable shooting bench
- Front rest, shooting bags or bipod
- Rear support bag
- Paper targets with a visible aiming point
- Eye and ear protection
- Spotting scope or binoculars
- Tools for adjusting the optic
- Bore sighting device, if available
- Notebook or ballistic application
- Stapler, tape or target stand
Use the same ammunition for zeroing that you plan to use while hunting or shooting. Different bullet weights, velocities and designs can produce different points of impact, even when fired from the same rifle.
Step 1: Check the Rifle and Scope
Before firing, confirm that the rifle and optic are properly assembled. Verify that the rifle is unloaded and pointed in a safe direction while performing these checks.
Inspect the base, rings and mounting hardware. The optic and mounting hardware should be secure. Loose bases or rings can cause the point of impact to shift and make it nearly impossible to establish a dependable zero.
Check that the scope is level and positioned with adequate eye relief. When the rifle is shouldered naturally, the shooter should see a full image through the optic without moving the head forward or backward excessively.
Set the magnification at a comfortable level and adjust the diopter until the reticle appears sharp. If the scope includes parallax adjustment, set it for the approximate target distance.
Scope adjustments cannot compensate for loose hardware or inconsistent positioning.
Step 2: Bore Sight the Rifle
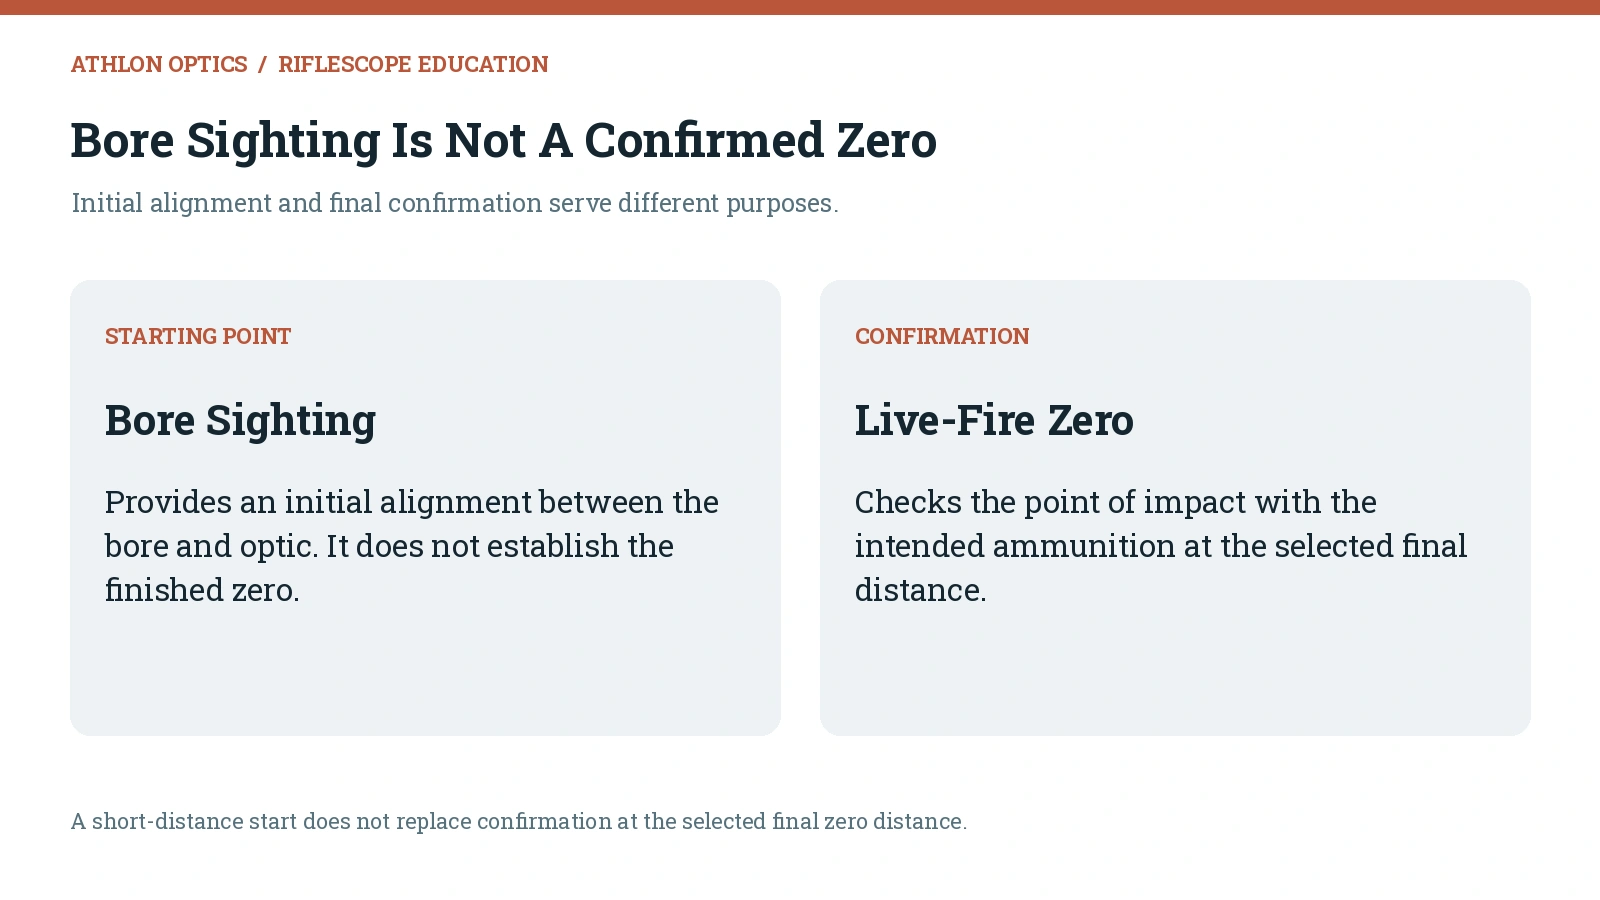
Bore sighting aligns the rifle’s bore and optic closely enough to place the first shots on paper. It does not create a finished zero, but it can save time and ammunition.
A laser bore sight can be inserted into the muzzle or chamber, depending on its design. With the rifle secured and pointed at a safe target, adjust the optic until the reticle corresponds with the laser at the recommended distance.
A bolt-action rifle can also be bore sighted without a laser. Remove the bolt, secure the rifle and look through the barrel from the rear of the action. Center a visible target in the bore, then look through the scope without moving the rifle. Adjust the reticle until it is centered on the same target.
Remove any bore-sighting device from the firearm before loading or firing.
Bore sighting should always be followed by live fire. The laser or visual alignment provides a starting point, rather than a finished zero.
Step 3: Begin at a Short Distance
Place the first target at 25 yards. Starting close increases the likelihood that the initial shots will land on paper, even if the scope requires significant adjustment.
Use a large target with a clear aiming point. Settle into a stable shooting position and place the rifle on the front and rear supports. The supports should steady the rifle without placing unusual pressure on the barrel.
Load one round, aim at the center of the target and fire carefully. If the shot appears on paper, inspect its location. If it misses the target entirely, return to the bore-sighting process before firing additional rounds.
The purpose of this stage is not to establish the final zero. It is to move the point of impact close enough to the point of aim to continue at a longer distance.
Step 4: Fire a Three-Shot Group
Once the rifle is printing on paper, fire a three-shot group while aiming at the same point for every shot. Do not adjust the scope after each individual round.
A single shot can be affected by shooter movement, ammunition variation or changing conditions. A group provides a better representation of the rifle’s average point of impact.
Use deliberate trigger control and maintain a consistent cheek weld. Allow the reticle to settle naturally rather than forcing it onto the target. Follow through after each shot by keeping the rifle shouldered and maintaining sight alignment.
After firing three shots, locate the approximate center of the group. Scope corrections should be based on the group’s center, not the hole farthest from the aiming point.
A group gives more useful information than a single imperfect shot.
Step 5: Measure the Required Correction
Determine how far the center of the group is from the intended point of impact. Measure both the horizontal and vertical distances.
For example, the center of the group may be two inches low and one inch to the right. The scope must be adjusted upward and to the left.
Most rifle scopes use adjustments measured in minutes of angle or milliradians. A common hunting scope may adjust in ¼ MOA increments. At 100 yards, one ¼ MOA click moves the point of impact approximately ¼ inch. Four clicks move it approximately one inch.
At 25 yards, the same adjustment moves the point of impact approximately one-quarter as far. A ¼ MOA click changes impact by roughly 1/16 inch at 25 yards. Moving the group one inch at that distance therefore requires approximately 16 clicks.
A scope with 0.1 MIL adjustments moves impact approximately 0.36 inch per click at 100 yards. Confirm the adjustment value printed on the turret or listed in the optic’s manual before making corrections.
Step 6: Adjust the Scope
Use the elevation turret to move the point of impact up or down. Use the windage turret to move it left or right.
The directional markings on a scope normally describe the direction the bullet’s point of impact will move. Turning the elevation turret in the direction marked “UP” moves the point of impact upward. Turning the windage turret toward “R” moves it to the right.
Make the calculated adjustment, then fire another three-shot group. Keep the same aiming point and shooting position. Repeat the process until the group lands where desired at 25 yards.
Avoid chasing each individual bullet hole. Base adjustments on the center of a controlled group.
Step 7: Move to the Final Zero Distance
After establishing a rough zero at 25 yards, move the target to the selected final distance. For many hunting rifles, the chosen distance is 100 yards.
Set up the rifle using the same stable supports. Fire a three-shot group and determine its center. Measure the necessary horizontal and vertical corrections, convert those measurements into clicks and adjust the scope.
Fire another group after every adjustment. Continue until the group is centered on the desired point of impact.
Step 8: Allow the Barrel to Cool
Repeated shots can heat the barrel and potentially change the rifle’s point of impact. Thin hunting barrels are especially likely to heat quickly.
If the barrel becomes noticeably hot, pause and allow it to cool. This can take several minutes depending on the rifle and outside temperature. Leaving the action open helps air circulate through the chamber and barrel.
Barrel temperature matters when zeroing a hunting rifle because the first shot in the field will normally come from a cold barrel. A zero established only after a long string of fire may not represent the rifle’s cold-bore performance.
Avoid attempting to cool a hot barrel rapidly with water or another liquid. A gradual return to ambient temperature is preferable.
Step 9: Confirm the Zero
Once the rifle appears properly adjusted, allow the barrel to cool and fire a final group. This confirmation group should be fired with the same ammunition intended for actual use.
A three-shot group provides an initial check. Larger groups and repeated confirmation provide more information about the rifle’s consistency.
Consider more than whether one shot or the edge of a group touches the center of the target. The group should also be reasonably tight and repeatable. A scattered group may indicate inconsistent technique, loose equipment, unsuitable ammunition or a mechanical problem.
If possible, return on another day and fire a cold-bore shot at the zero distance. A rifle that repeatedly produces the expected point of impact offers much greater confidence than one that was adjusted during a single range session.
Step 10: Reset the Turrets and Record the Zero
Some scopes allow the turret indicators to be reset to zero after sighting in. This gives the shooter a clear reference point for future elevation or windage adjustments.
Follow the manufacturer’s instructions for resetting the turret caps or installing a zero stop. Do not turn the internal adjustment mechanism while resetting the indicator unless directed to do so.
Record important zeroing information, including:
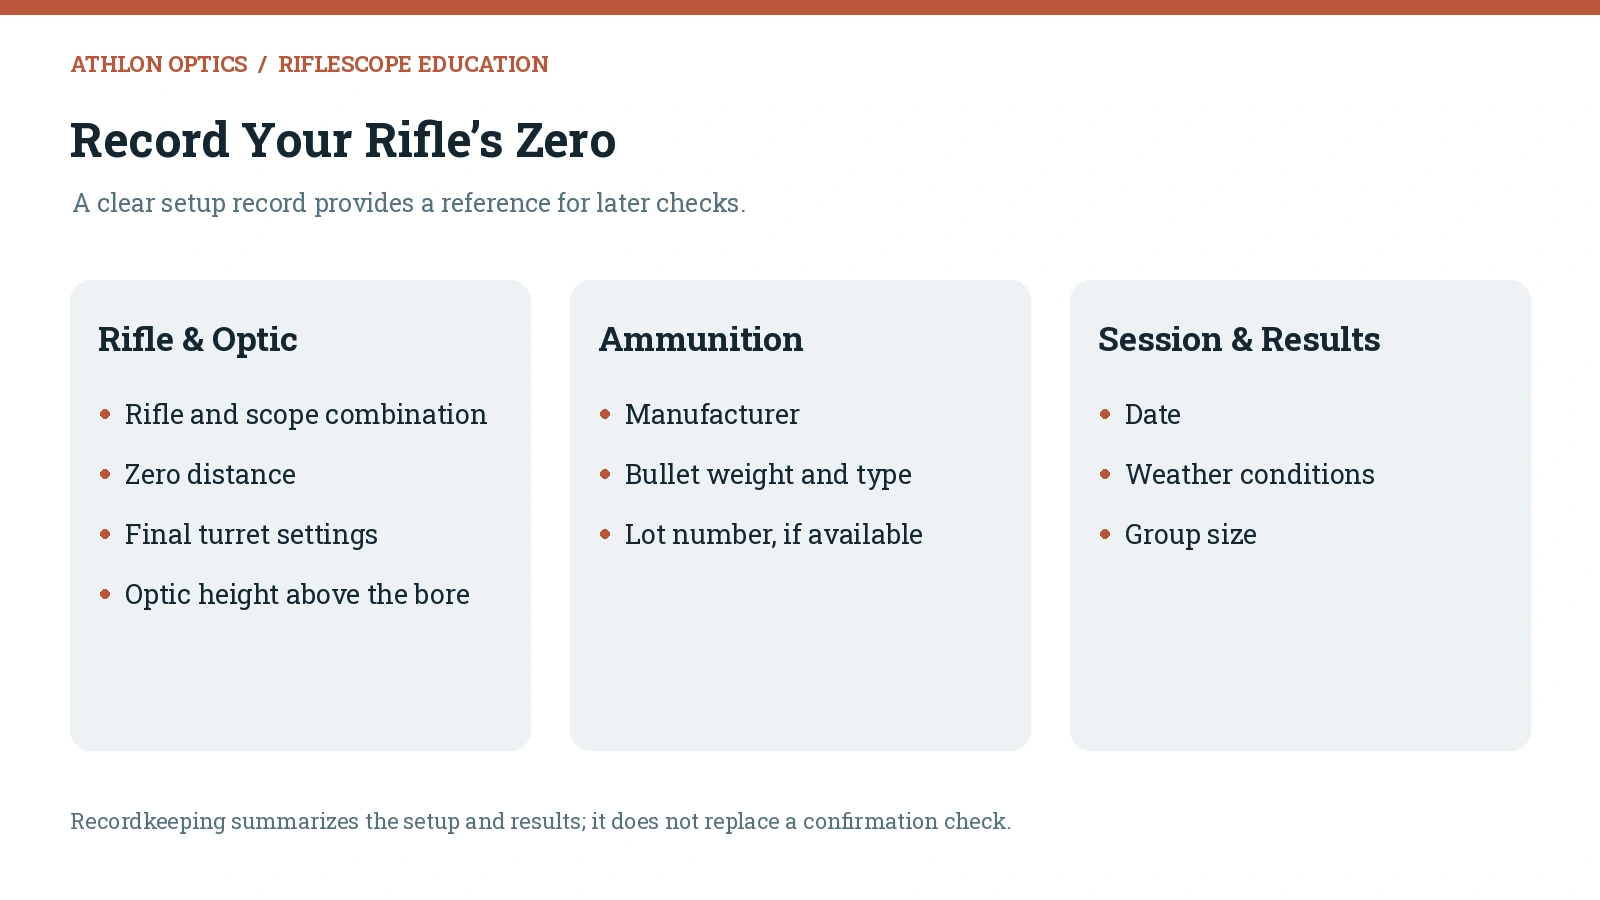
View the recordkeeping list as text
- Rifle and scope combination
- Ammunition manufacturer
- Bullet weight and type
- Lot number, if available
- Zero distance
- Date and weather conditions
- Group size
- Final turret settings
- Height of the optic above the bore
Keeping a record makes it easier to identify changes and restore the rifle’s settings if the turrets are moved accidentally.
Common Rifle Zeroing Mistakes
Understanding common mistakes can make it easier to sight in a rifle efficiently and prevent wasted ammunition.
Adjusting After Every Shot
A single shot does not provide enough information to justify most scope adjustments. Fire a group and adjust based on its center.
Using Different Ammunition
Changing bullet weights or ammunition types after establishing a zero can shift the point of impact. Confirm the rifle again whenever you change the ammunition used for hunting or serious shooting.
Ignoring Loose Hardware
Loose scope rings, bases or action screws can create unpredictable results. Check the rifle before making large adjustments.
Shooting From an Unstable Position
Trying to zero from an unsupported position introduces unnecessary movement. A bench and stable rests make it easier to evaluate the rifle and optic rather than the shooter’s ability to hold steady.
Resting the Barrel Directly
The rifle should generally be supported under the fore-end, not directly under the barrel. Pressure against the barrel can affect harmonics and shift the point of impact.
Firing Too Quickly
A hot barrel can produce a different point of impact. Slow down and allow a hunting rifle to cool between groups.
Ignoring Parallax
If the reticle appears to move across the target when the shooter shifts head position, parallax may be affecting the shot. Use the scope’s parallax adjustment when available and maintain consistent eye position.
Turning the Turrets in the Wrong Direction
Scope markings indicate the direction the point of impact moves. Verify the markings before making an adjustment.
How to Zero a Hunting Rifle for Field Conditions
Bench shooting creates a controlled environment, but hunting rarely offers the same stability. After zeroing a hunting rifle from the bench, practice from realistic positions.
Shoot from kneeling, sitting and standing positions. Practice with shooting sticks, a backpack or the support rail of a tree stand. If the rifle uses a suppressor, bipod or other accessory in the field, confirm the zero with that equipment attached.
You should also confirm performance at distances other than the primary zero. A rifle zeroed at 100 yards will not necessarily strike at the same point at 50, 200 or 300 yards.
Use verified range data to build a basic trajectory chart showing the expected point of impact at practical distances. Keep those verified results with your setup notes.
When Should You Check Your Rifle’s Zero?
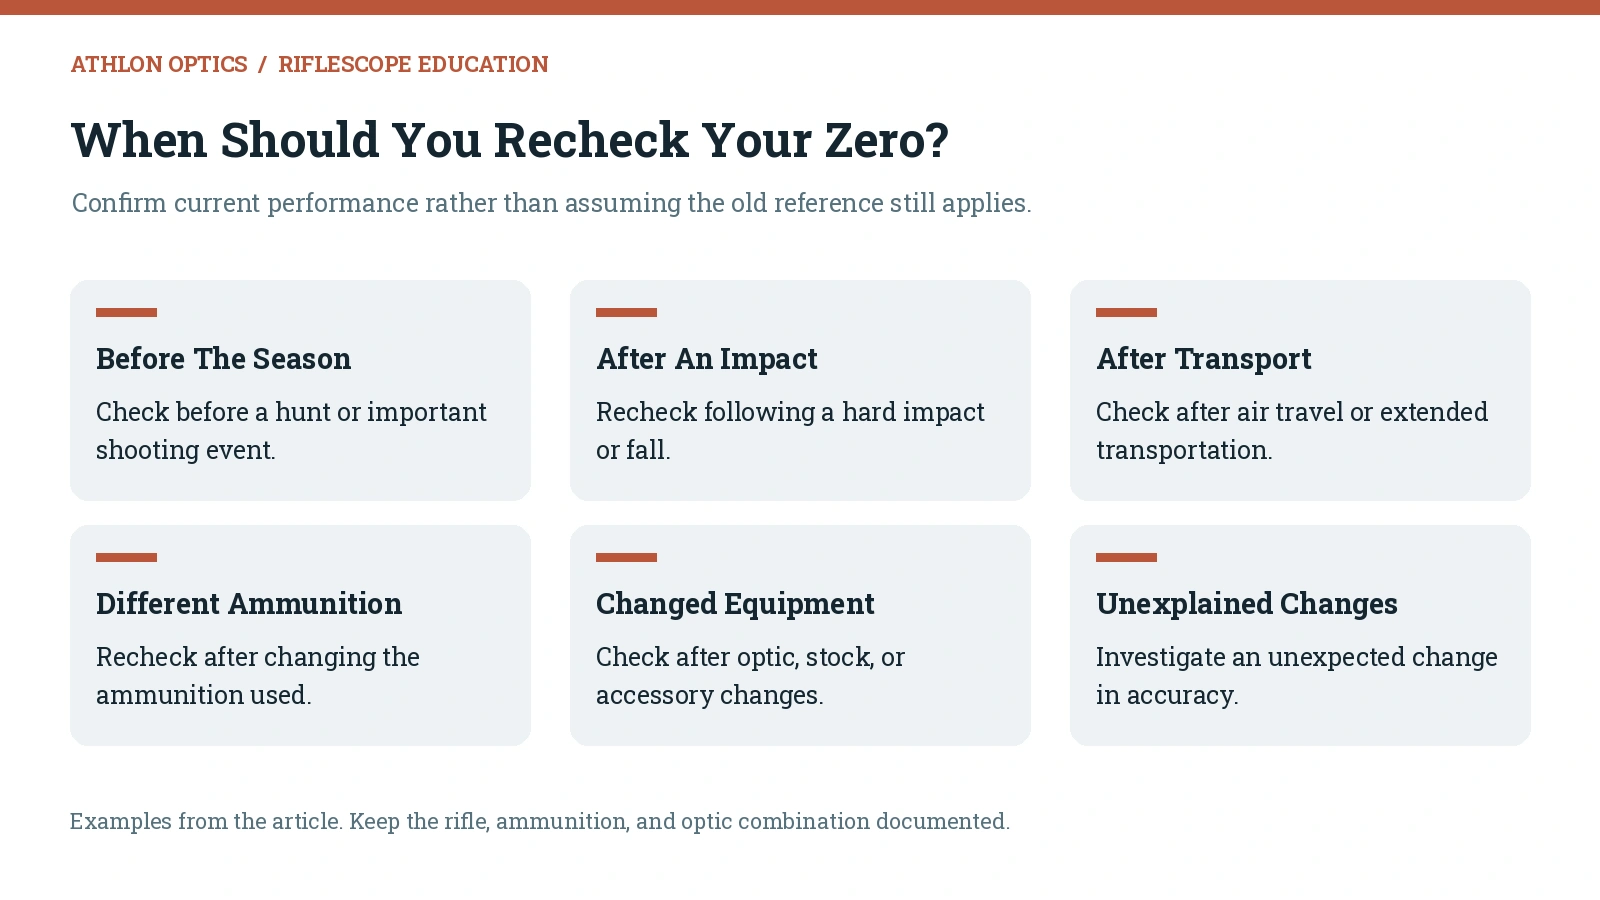
A rifle should be checked before each hunting season and before any important shooting event. It should also be inspected after:
- A hard impact or fall
- Air travel or extended transportation
- Removing and reinstalling the scope
- Changing ammunition
- Adding a suppressor or muzzle device
- Adjusting action screws or replacing the stock
- Major changes in elevation or weather
- Any unexplained change in accuracy
A rifle can retain its zero for years when properly assembled and stored, but it is better to confirm than assume. Confirm the rifle’s current performance rather than relying on an assumption.
Frequently Asked Questions
Is Bore Sighting the Same as Zeroing a Rifle?
No. Bore sighting provides an initial alignment. The finished zero must be confirmed by live fire at the selected distance.
Should I Zero With My Hunting Ammunition?
Use the ammunition intended for the rifle’s regular use. Different bullet weights, velocities, and designs can produce different points of impact.
Does a 25-Yard Start Replace Confirmation at 100 Yards?
No. The short-distance stage is an initial check. Confirm the rifle at the selected final zero distance.
Does Resetting a Turret Indicator Establish a Zero?
No. Resetting the indicator provides a reference after sighting in. Follow the scope manufacturer’s instructions for the specific turret or zero-stop system.
When Should I Recheck My Rifle’s Zero?
Check before a hunting season or important shooting event, after an impact or significant transport, and after changes to ammunition, the optic, or the rifle setup.
Confirm, Record, and Recheck
Knowing how to zero a rifle scope builds confidence in both the firearm and the shooter. The process begins with secure equipment and bore sighting, followed by careful groups, measured adjustments and final confirmation at the selected distance.
The most important principles are consistency and patience. Use the same ammunition, shoot from a stable position, adjust from the center of each group and allow the barrel to cool when necessary.
Once you understand how to sight in a scope, the process becomes repeatable across different rifles and optics. Confirm the finished zero under realistic conditions, record the results and check the rifle before every important hunt or range session. A recorded, confirmed zero provides a reference for future checks.
Use the instructions for your exact Athlon optic when checking turret features and reset procedures.